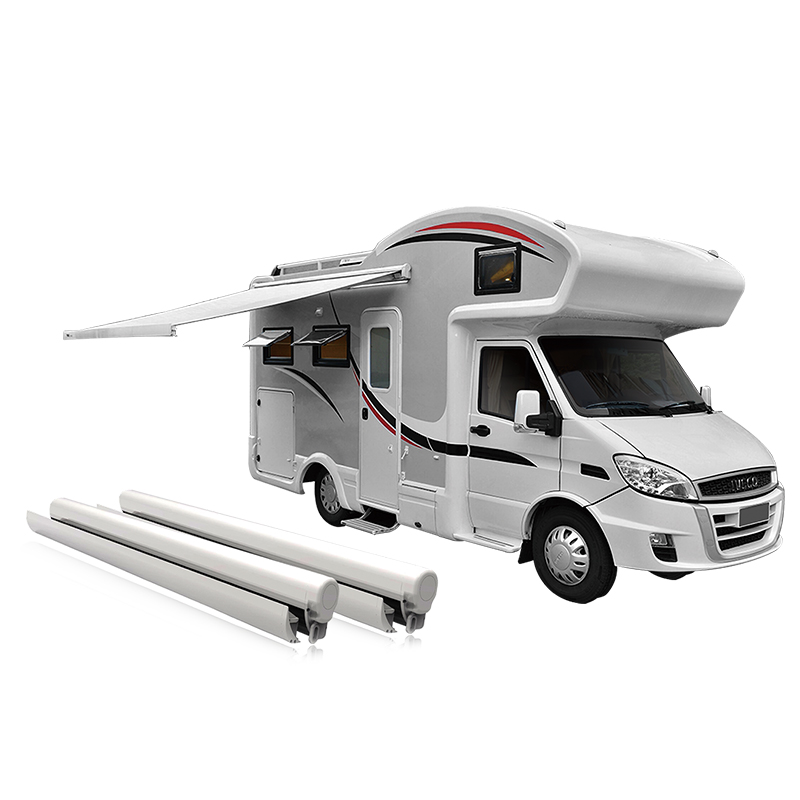
Product Parameters
| Product Name | S3600 series | ||||
| Specifications | 801830/801049 | 801081/801204 | 801082/801205 | 801083/801206 | 801084/801207 |
| Open mode | Manual/Electric | Manual/Electric | Manual/Electric | Manual/Electric | Manual/Electric |
| Product Weight | 16kg | 18kg | 20kg | 21kg | 23kg |
| Product Length | 200cm | 250cm | 300cm | 350cm | 400cm |
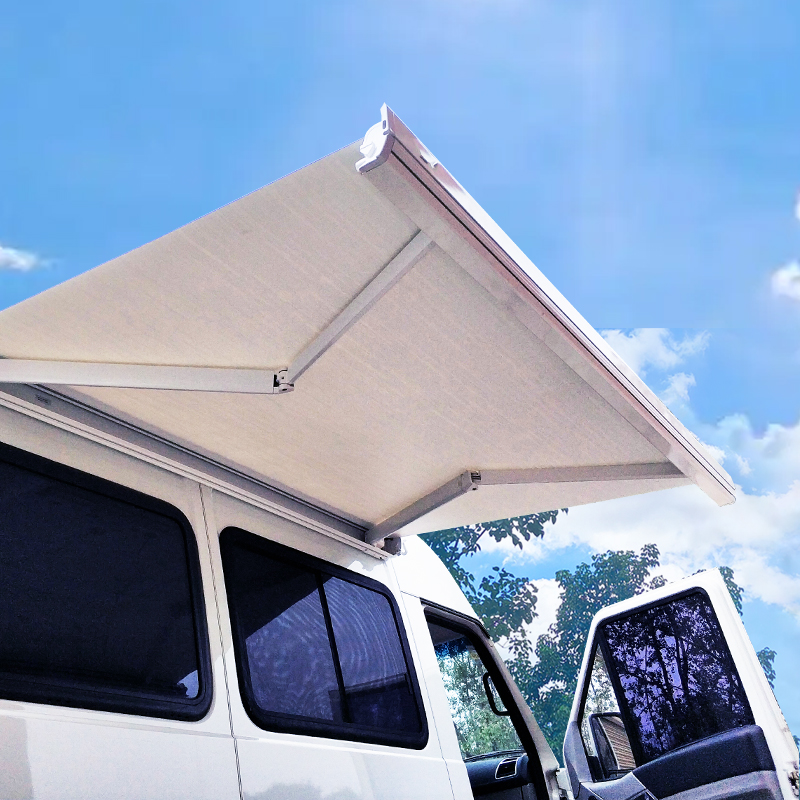
RV Awning Product Description
Skeleton Material
-
Frame: High-strength aluminum alloy skeleton
-
Surface Treatment: Electrostatic spraying for enhanced durability
-
Accessories: High-strength plastic accessories made from imported raw materials, offering superior weather resistance
Fabric
-
Material: Imported 100% waterproof PVC outdoor special fabric
-
Standard: Conforms to European environmental and safety standards
Operation Mode
-
Manual/Electric Integrated System
-
Voltage: 12V
-
Motor Brand: Duya (The sole distributor of the top domestic brand for this product category)
-

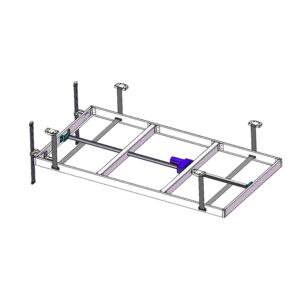
Installation Precautions for RV Awning
-
Professional Installation Required
Installation must be carried out by an experienced installer to ensure safety and proper setup. -
Vehicle Structure Inspection
Before installation, confirm that the installation area on the vehicle body has been structurally reinforced. -
Marking Installation Points
-
Use a pen to measure and mark all installation points accurately.
-
When the RV awning is opened, its arms generate considerable torque.
-
To prevent deformation of the vehicle’s rear panel and ensure smooth retraction, mark the arm connection block positions carefully.
-
Ensure that all mounting brackets are evenly spaced and aligned on a horizontal line.
-
-
Drilling and Bracket Fixation
-
Double-check both the inside and outside of the vehicle for any obstructions.
-
Proceed to drill holes and secure the brackets in place.
-
Note: Do not overtighten screws during initial installation to allow for final adjustments. Tighten all screws securely after final alignment.
-
-
Mounting the Awning
-
Place the RV awning onto the mounting brackets.
-
Adjust as needed and firmly secure it in place.
-
-